Support
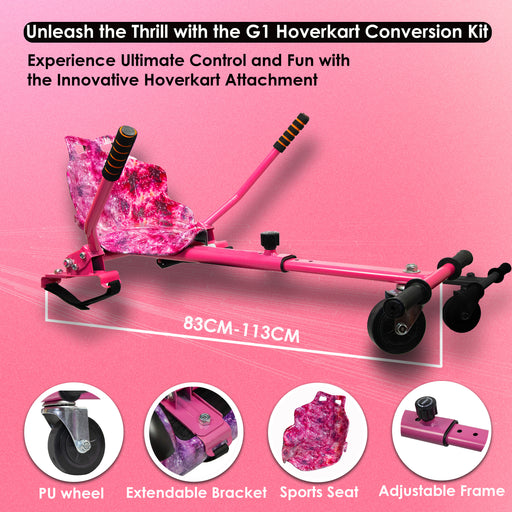
Galaxy Pink Kart Frame Attachment Transform your balance board into a thrilling go-kart with the Gift Gadgets Hoverkart Accessory Kit. This versati...
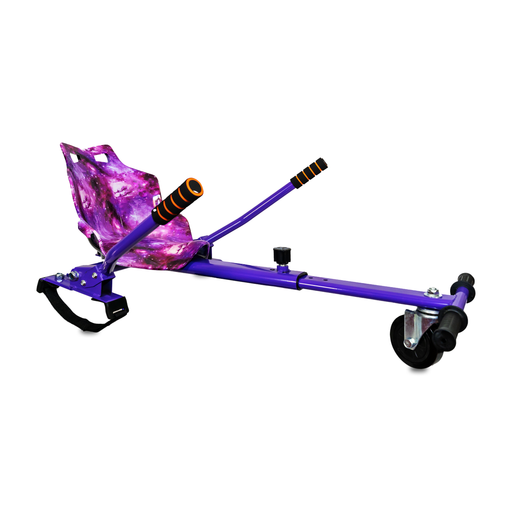
View full detailsPurple Galaxy Hoverkart Transform your balance board into a thrilling go-kart with the Gift Gadgets Hoverkart Accessory Kit. This versatile kit inc...
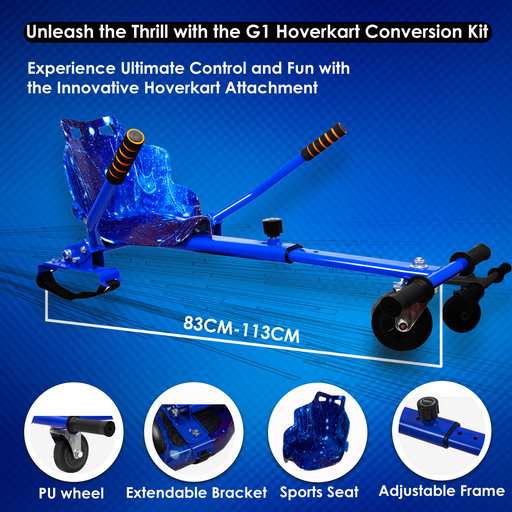
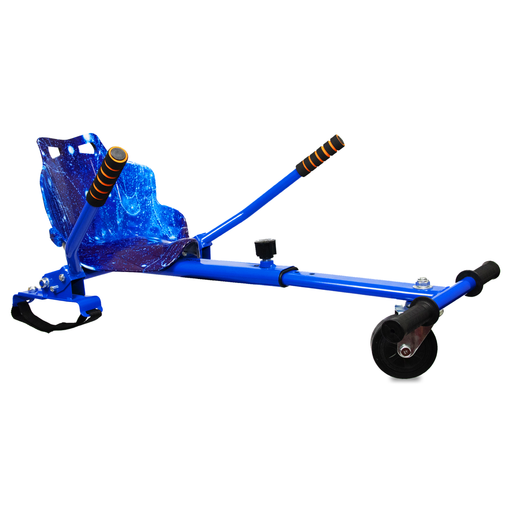
View full detailsGalaxy Blue Hoverkart Transform your balance board into a thrilling go-kart with the Gift Gadgets Hoverkart Accessory Kit. This versatile kit inclu...
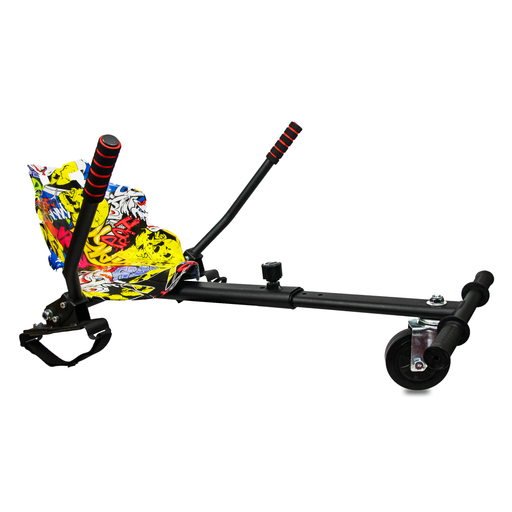
View full detailsGraffiti Yellow Kart Transform your balance board into a thrilling go-kart with the Gift Gadgets Hoverkart Accessory Kit. This versatile kit includ...
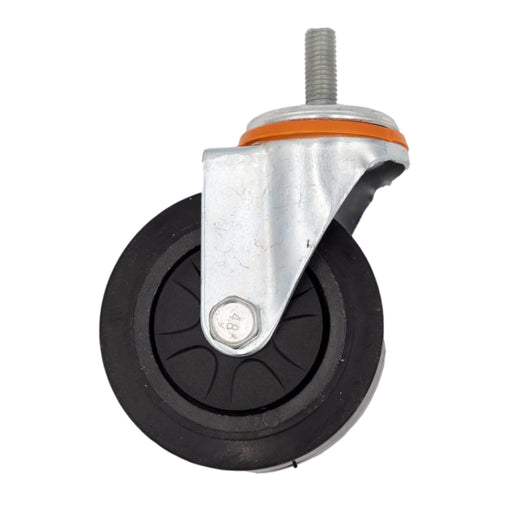
View full detailsUniversal Fit Design: Engineered to fit most hoverkart models, this replacement wheel ensures your hoverkart is always ready for action. High-Q...
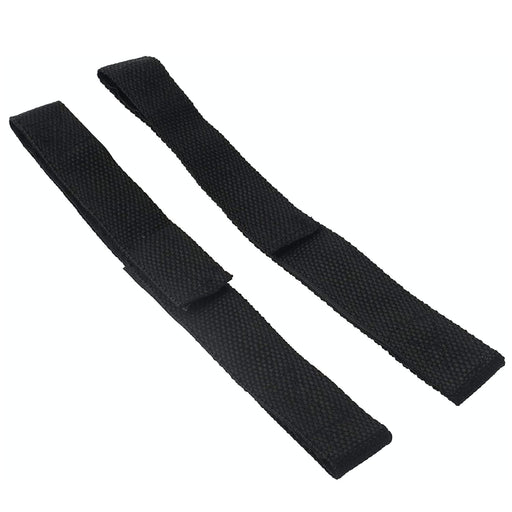
View full detailsUniversal Compatibility: Designed to fit a wide range of models, these hoverkart replacement straps ensure a perfect fit for your hoverboard and...
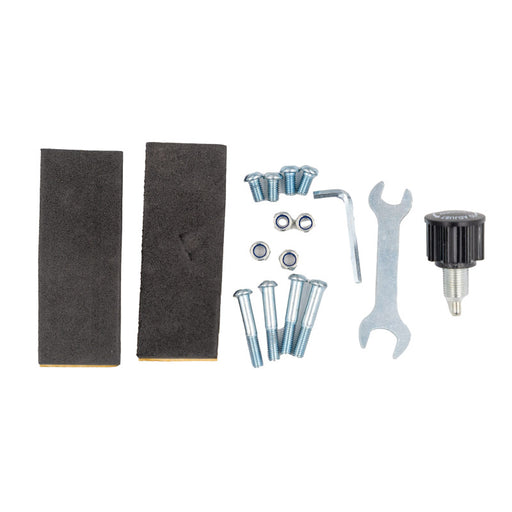
View full detailsComprehensive Kit: This Hoverkart Replacement Assembly Screw Kit includes all necessary screws and fittings required for the assembly and repair...
View full details