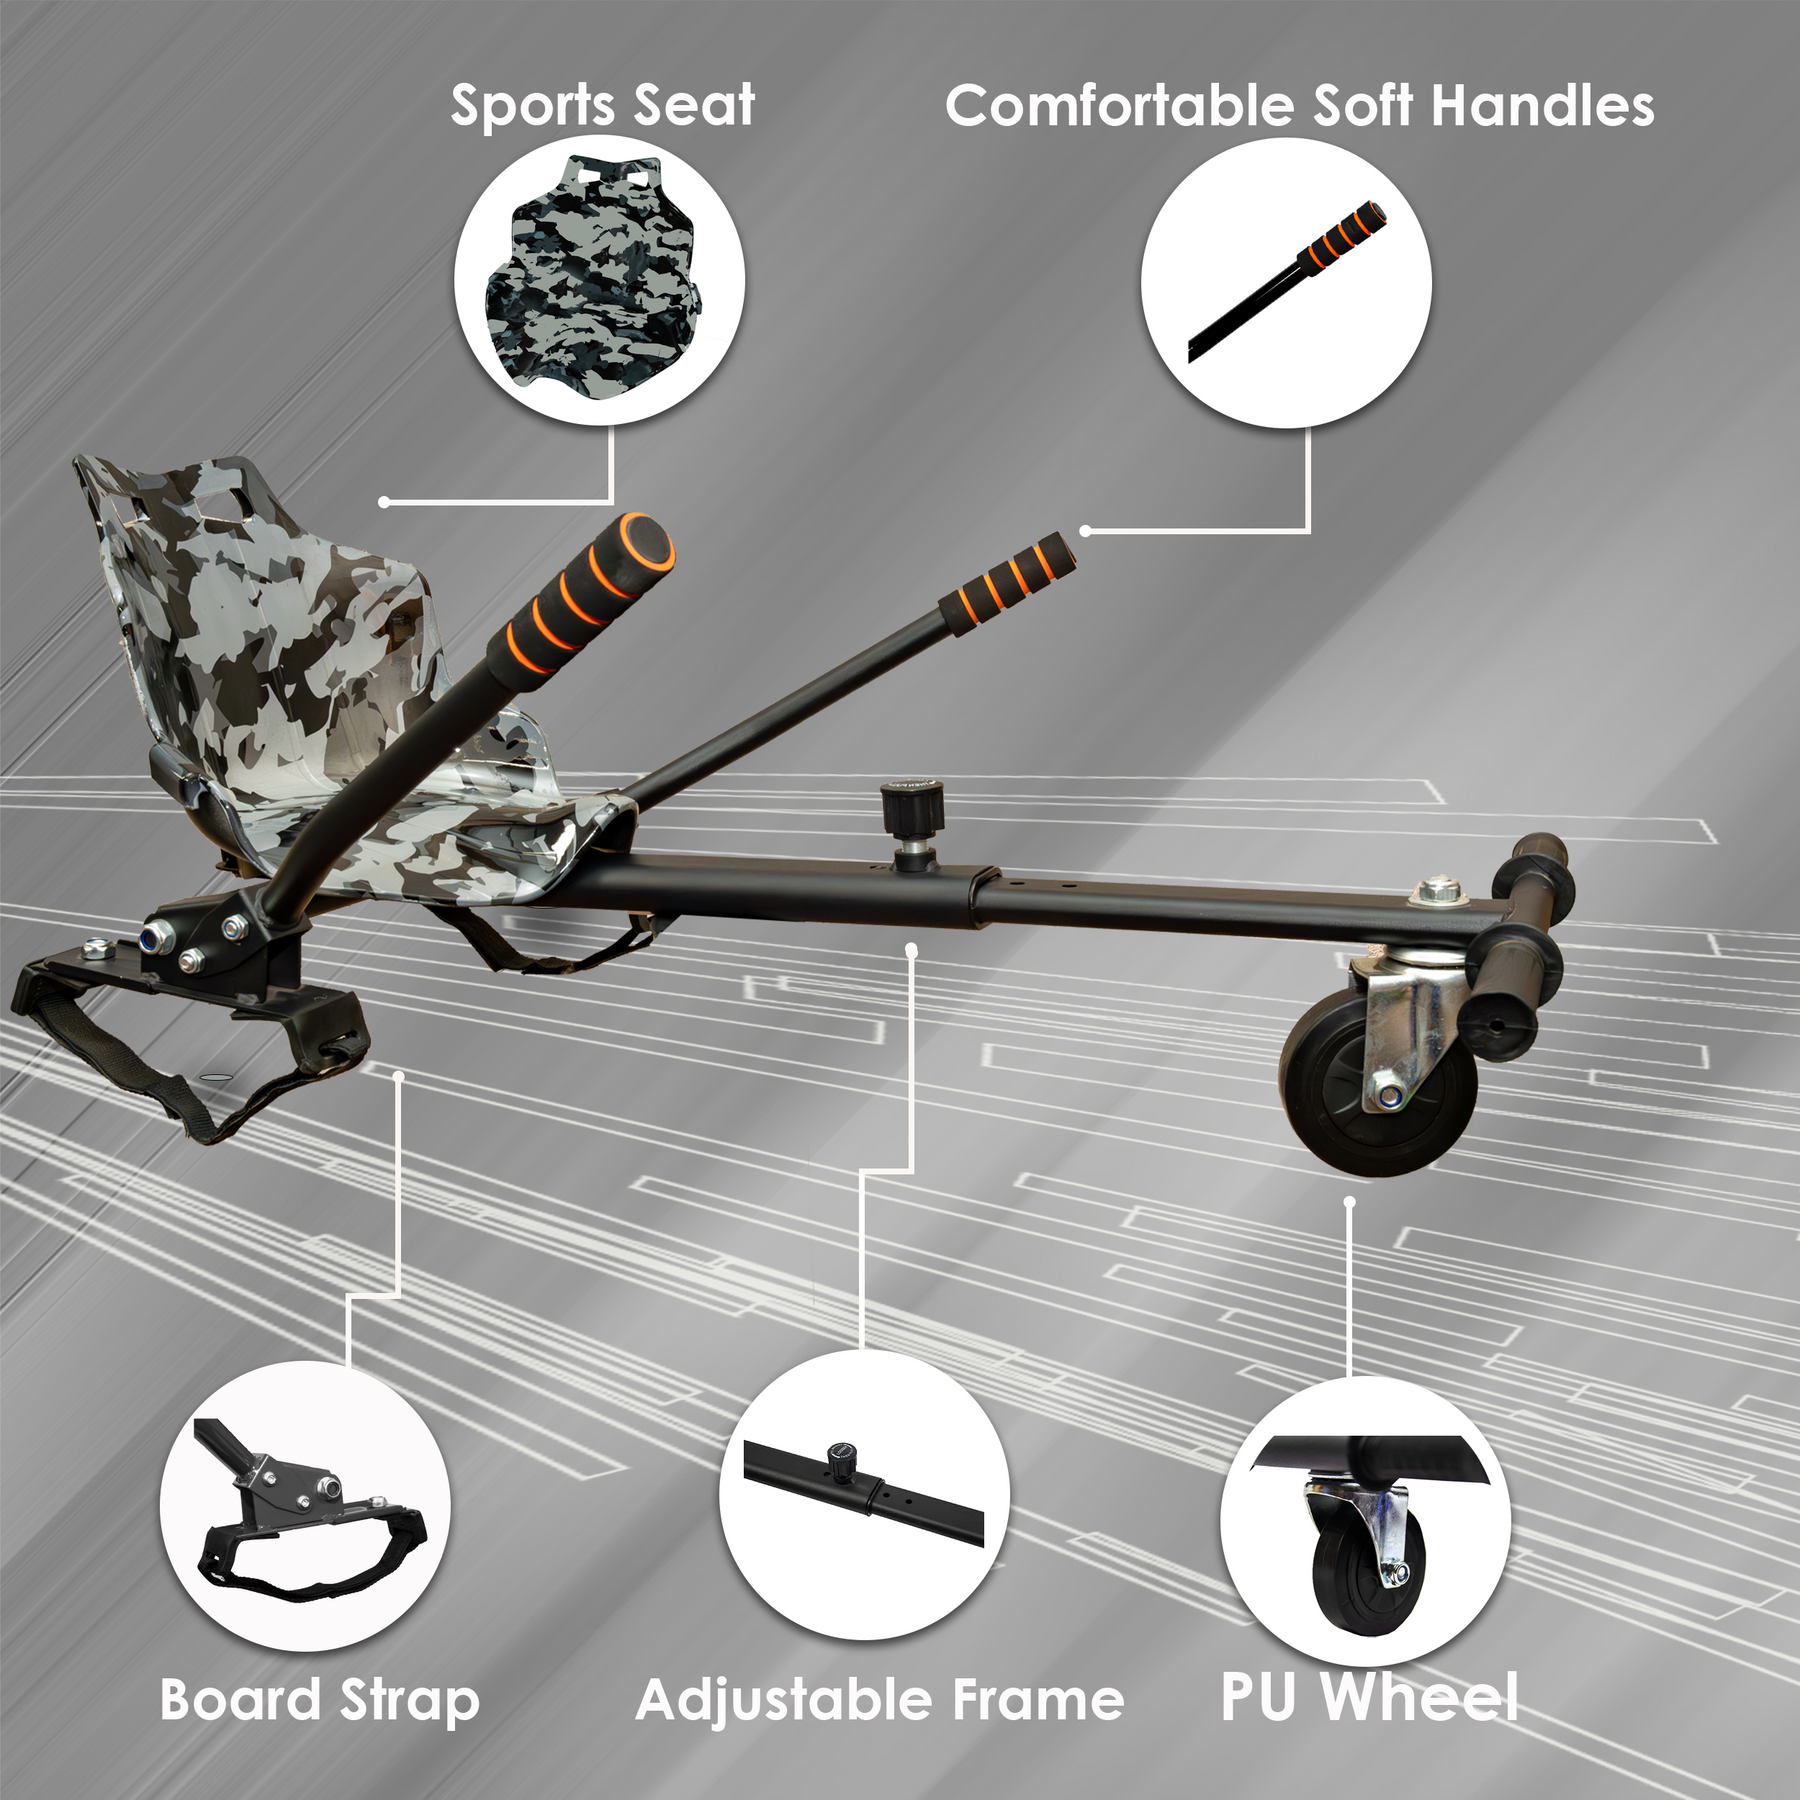
How to Build an R1 Gift Gadgets Hoverkart Instructions
How to Build an R1 Gift Gadgets Hoverkart: A Comprehensive Guide
Transform your hoverboarding experience with the R1 Gift Gadgets Hoverkart. By following this detailed guide, you'll be able to assemble your own Hoverkart, enhancing the functionality and fun of your hoverboard. Whether you're a DIY enthusiast or new to hoverboarding, this project is for you.
Before You Begin: Get Your Kit
To start, you’ll need an R1 Gift Gadgets Hoverkart kit. Don’t have one yet? No problem! You can easily purchase it from our hoverkart range HCS Gadgets. We offer a wide selection of hoverkarts to suit your style and preferences. Make sure to grab yours to follow along with this guide.
Step-by-Step Assembly Instructions
1. Prepare the Handle Holders
- Start by attaching the adhesive pads underneath the handle holders. These pads will ensure a secure fit and prevent any unwanted movement during use.
2. Secure the Handle Holders
- Next, fix the Velcro straps and the protector pods to the handle holders. This step is crucial for maintaining the hoverkart's stability and ensuring your safety.
3. Install the Handles
- Use the four long screws to attach the handles to the handle holders. Fasten the four nuts firmly with the spanner and an Allen key. Make sure the nuts are on the outer side for easy adjustments in the future.
4. Attach the Seat
- Fix the seat onto the seat platform using the four short screws. No nuts are required for this step. Tighten each screw with an Allen key to secure the seat properly.
5. Connect the Chassis Extender
- Attach the chassis extender to the seat platform. Adjust it to your preferred length, then lock it securely using the chassis length adjustment bolt. This customisation allows for a comfortable ride regardless of the user's height.
6. Prepare the Hoverboard
- With the hoverboard upside down, place your Hoverkart onto the seat platform. Tighten the Velcro straps to secure the Hoverkart in place.
7. Final Adjustments
- Flip the hoverboard back over and tighten the foot pad length adjustment screws on both sides. This ensures that the foot pads are perfectly aligned with your feet for optimal control and comfort.
Final Step: Enjoy Your New Hoverkart
After completing these steps, you're now the proud owner of a fully assembled Hoverkart. Test it in a safe, open area, adhering to all safety guidelines. The comfort and thrill of your hoverboard ride are now enhanced, thanks to your new Hoverkart.
Didn’t Get Your Hoverkart Kit Yet?
If you've stumbled upon this guide and haven't yet purchased your R1 Gift Gadgets Hoverkart, it's not too late to start this exciting project. Visit our hoverkart range HCS Gadgets to select your kit. There’s a variety of options to fit every personality and hoverboarding style.
Wrapping Up
Building your R1 Gift Gadgets Hoverkart is more than just a fun DIY project; it's about upgrading your hoverboarding experience to new heights. Whether cruising down the street or navigating through park paths, your Hoverkart is sure to turn heads and bring smiles.
We hope this guide has been helpful. For any questions, or to share your Hoverkart assembly experiences and tips, feel free to leave a comment below. And remember, for all your hoverkart needs, HCS Gadgets is your go-to destination.
